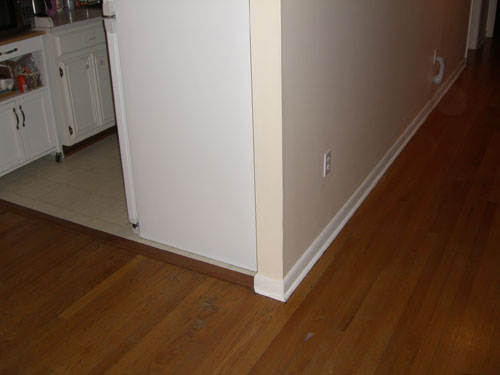
Problem
The floor around a wall was sagging over an inch. The wall is sitting part way across a 12 foot span of 16 on center 2 x 8 joists. Being a kitchen wall the the refrigerator and stove sit along one side and at one time sat next to a washer and drier! Past leaks from the washer had aggravated the problem as well.
Solution
Install a 16 foot beam under the wall and bring the floor up to level.
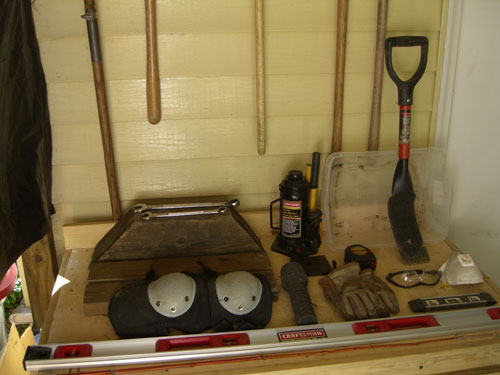
Tools
4 foot level, bullet level, knee pads, gloves, dust mask, goggles, flash light, wrenches,12 ton bottle jack, wood blocks, tape measure, carrying bin, plumb bob, small roofing tool, chop saw and grinder.
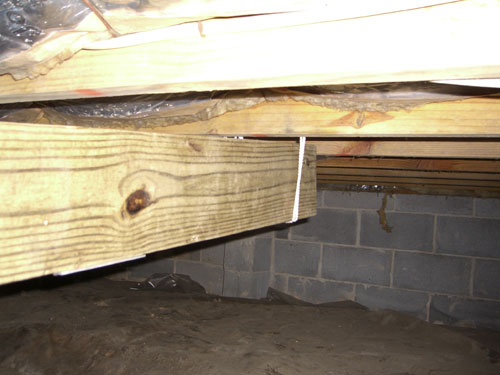
The Key
With only 2 feet between the dirt and the bottom of the joists there wasn't much room to work. Everything done under the house requires extra effort. The key to making things go smoothly is to do as much as possible outside of the crawl space.
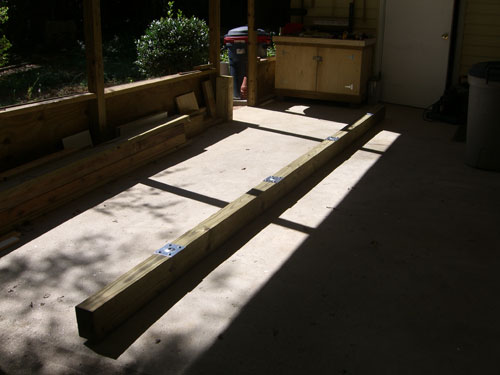
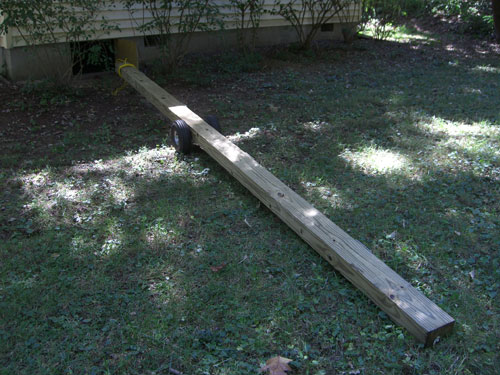
The Beam
I used a 4" x 6" x 16' treated beam. The top support post plates are positioned 2 feet from the end and every 4 feet between the outside plates.
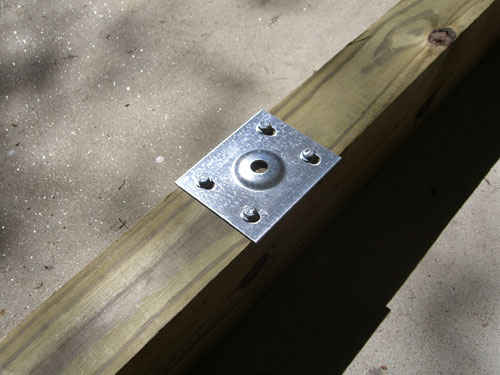
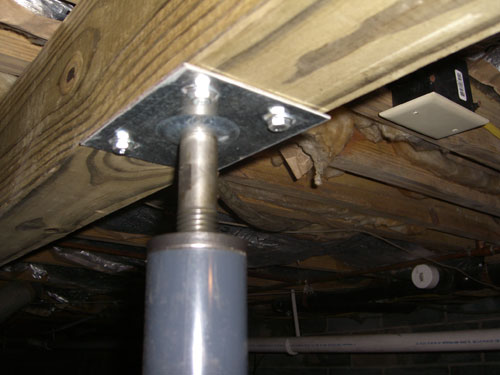
Upper support plate
The top support post plates are secured with 1 inch lag bolts.
Wheels
In order to easily move the beam I borrowed the wheels from my hand truck and attached them to the bottom of the beam.
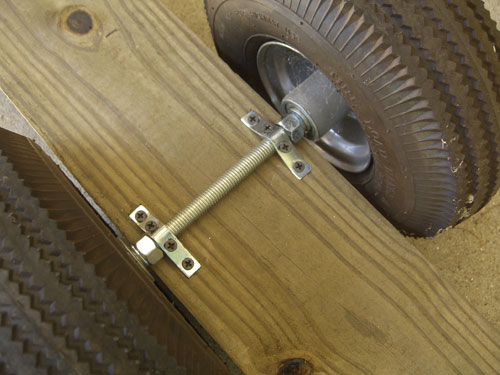
Mobile beam
The wheels are mounted slightly off center to help keep the front off the ground. A rope is attached to the front end to pull the beam to the mounting location.
Ropes
A loop of rope was used to hold each end of the beam in position prior to installing the jacks. Once the beam was up a plumb bob was suspended from the center of the upper support plates to locate where to position the support blocks. Measurements were made from the center to determine where to cut the plastic covering the dirt. Once the dirt was exposed the short shingle removing tool was used to dig out the dirt and rocks. A level pad of dirt was formed and the block was dropped to help tamp the soil.
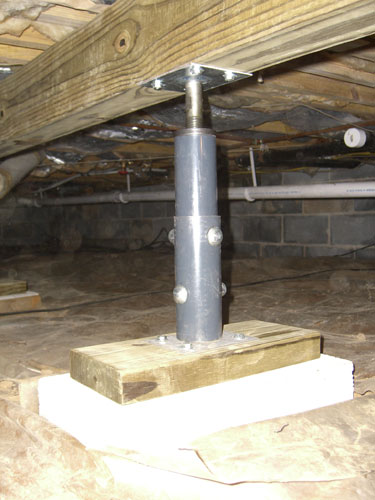
Lower support
The bottom support plate was secured to pieces of treated 2 x 8 then placed on top of the blocks. Once all the blocks and the associated 2 x 8's with support plates were in position measurements between the upper and lower support plates were taken. The smallest the support columns would go was 19 inches. They needed to be between 12 and 14 inches so a chop saw was used to cut them to the correct length.
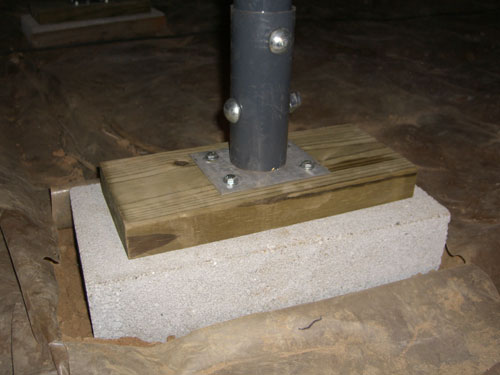
Upper support
Support column
Once the support columns were cut they were bolted together then positioned in the top and bottom support plates. A bullet level helped to position the bottom 2 x 8 and support plate making the support column perfectly vertical.
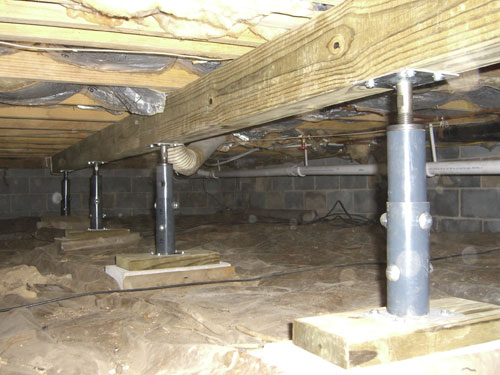
Completed job
With all the support columns in place the 12 ton bottle jack was positioned between the 1st and 2nd and then the 3rd and 4th support columns to take the weight off the support columns. A 4 x 4 x 1/2 inch thick plate was used at the top of the jack to help disperse the weight and a variety of short boards were used under the jack to lift it up to the right height. A wrench was used to turn the column screws after the beam had been lifted by the bottle jack. Although much advise was given to jacking the floor only an 1/8 of an inch week I was able to raise the floor about 90 percent of the way the first day. The house didn't complain a bit. The next weekend, using the 4 foot level across the joists I was able to raise the floor the remaining amount finishing the task.
Conclusion
This was my first attempt at this type of task. Each floor leveling job is going to be different requiring different tools, techniques and materials. Remember to proceed with caution and with all priority given to safety. I hope these words and pictures will help someone do something similar if so please drop me a line and let me know. I thank God for his encouragement, ideas and provision with out which this job would not have been accomplished.